Latest Post

Showing posts with label blog tutorial. Show all posts

Show Posts with Thumbnail and Read More in Blog


Show summary of Posts with a thumbnail in Blog homepage in three simple steps.

Step 1:
Take Backup:Very important part of any customization. Never forget to take backup before making any changes. If you forget/don't want to take backup thinking that you can rollback the changes by altering code, trust me it'll be like working entire new blog from scratch (it from my experience).

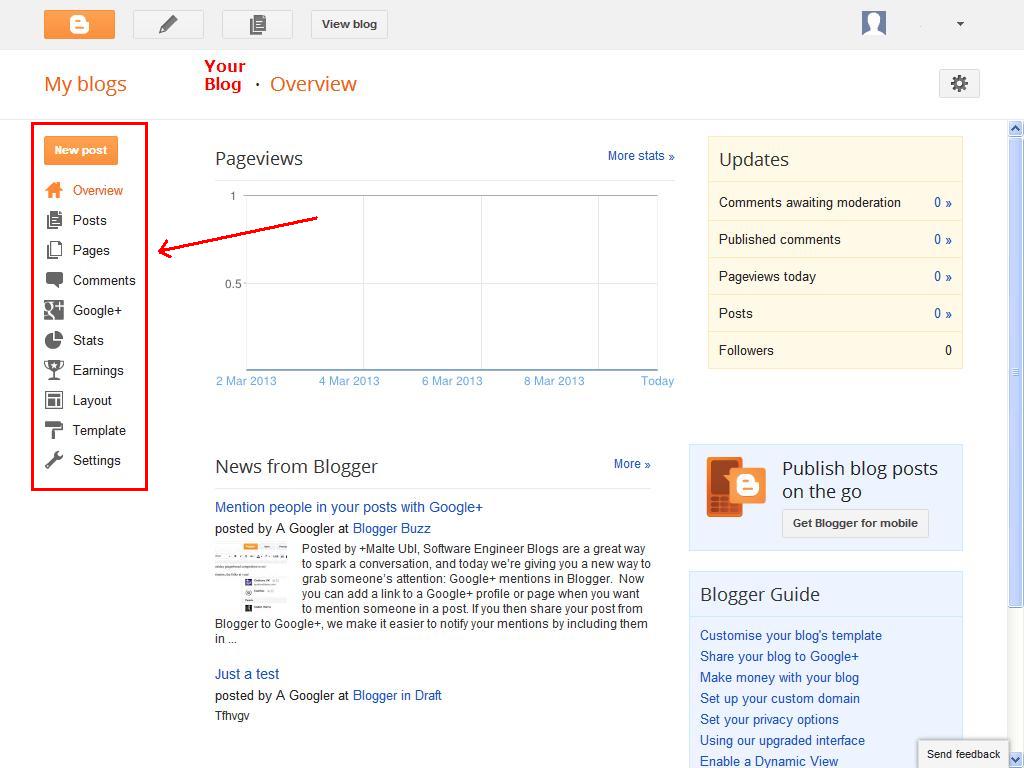
Now, goto Template>select Backup/Restore>save the .xml file

Step 2:
  • Go to Template>Edit HTML
  • Check the Expand widget templates 
  • Copy and Paste following code before
</header>


<script type='text/javascript'>
var thumbnail_mode = &quot;yes&quot;; //yes -with thumbnail, no -no thumbnail
summary_noimg = 430; //summary length when no image
summary_img = 340; //summary length when with image
img_thumb_height = 90;
img_thumb_width = 150;
</script>
<script type='text/javascript'>
//<![CDATA[
function PostSummaryAndThumb(pID){
    var div = document.getElementById(pID);
    var imgtag = "";
    var img = div.getElementsByTagName("img");
    var summ = summary_noimg;
        if(thumbnail_mode == "yes") {
    if(img.length>=1) {   
        imgtag = '<span style="float:left; padding:0px 10px 5px 0px;"><img src="'+img[0].src+'" width="'+img_thumb_width+'px" height="'+img_thumb_height+'px"/></span>';
        summ = summary_img;
    }
    }
    var summary = imgtag ;
    div.innerHTML = summary;
}
//]]>
</script>


Step 3:
Search for first occurrence of code
<data:post.body/>


Now, replace this line with the following code:

<b:if cond='data:blog.pageType == &quot;item&quot;'>
<data:post.body/>
<b:else/>
<b:if cond='data:blog.pageType == &quot;static_page&quot;'>
<data:post.body/>
<b:else/>
<div expr:id='&quot;summary&quot; + data:post.id'><data:post.body/></div>
<script type='text/javascript'> PostSummaryAndThumb(&quot;summary<data:post.id/>&quot;);
</script>
<data:post.snippet/>
<a class='more' expr:href='data:post.url'>Read more ...</a>
</b:if>
</b:if>

Create your own Popular Posts and Recent Posts Widget


        As you already know, Blogger Popular Posts and Blogger Recent Posts Widgets will show Posts based on options selected in widget. Further you do not have any control as to what Posts will be shown.

How to Check Blog Posts are Indexed in Google

Getting indexed in Google Search is one of important thing in to get traffic to your blog. Now you can check is your all blogger posts indexed in Google Search.

How to Create/Remove Shadow Behind Images in Blogger Posts

Change the background of images in your Posts like shadow behind images, remove borders of images as in shown in this image in simple steps.

Blogger Tips and Tricks


Blogger Templates with Content Slider Translated From Wordpress

         Enhance your Blog by using themes having Content slider feature available straight from Wordpress. Content slider is one of best way to show a small glimpse of your popular contents without using much space.


Get Listed your Blog in Google using Google Webmaster

As you all know Google is the most preferred and popular search engine. Now get listed your blog in Google by creating indexing on Blog content using Google Webmaster. 


  • Connect to http://www.google.co.in/webmasters/
  • Enter User Name and Password.
  • If you are using same login credential used for Blogger, then be default all your blogs will be listed. Select the blog in which you want to create indexing.
  • Click Health and Fetch as Google as shown below.

  •   Enter your blog address and click FETCH.

Get Listed your Blog in Bing using Bing Webmaster

Bing is another popular search engine after Google. Now get listed your blog in Bing by creating indexing on Blog content using Bing Webmaster.


  • Enter your blog address and click Add.

  • Now, click Add in the screen as shown below.
  • You will get a verify ownership code for your blog. Copy <meta> (highlighted in red) code in your blog. Click Verify.
  • Once the verification is over, your blog will be listed in the dashboard.
  • Click over blog URL.
  • Select Fetch as Bingbot from options available in the left hand side of your screen.
  • Enter your blog address and click FETCH.


Make Your Blog Earn Money For You


        If you are passionate about writing and want to share information with others then blogging is the best option for you. With blogging you can share your views and thoughts.


         Different people have different reasons and purpose for blogging. For some it may be a hobby and for some its a source of income.Bloggers can make money in several ways. Most popular methods are through ads and affiliate marketing.

Simple HTML Syntax for Blogs


Modify your blog with some of simple but effective HTML codes that will make your blog stand from others...


Tutorials For Beginners


This tutorial would help you to learn how to create a blog and other features available that can make your blog stand out from others...

Add, remove and edit gadgets on your blog


In Layout you can Add, remove and edit gadgets on your blog. Click and drag to rearrange gadgets. To change columns positions and widths use the Template Designer.

How to add gadgets:
Click on Add a Gadget.
Select the gadget of your choice and Save.
Now gadget is on the specified location. You can drag and rearrange the gadget in different location also. Move the cursor over the gadget, when you see a + with arrow on all four ends click and hold your left mouse button and drag to location of your choice.

How to edit/remove a gadget:
Click on Edit on bottom right corner of the gadget. Edit the content and click Save or if u want to remove the gadget click on Remove button.    


Related Topics

How to Customise blog-Advanced


After going through all layout related stuffs in the previous posts, let's focus on the main part of blog. How to customise the content. Under Advanced plenty of options available. Check all options and customise based on your requirement.


After changing don't forget to click Apply to Blog.


Related Topics

How to Customise blog-Layout


Layouts helps you arrange different sections of blog. Select any layout of your choice and click Apply to Blog.


You can adjust the width in Adjust Widths.


Related Topics

How to Customise blog-Adjust Widths


It is not just the content of your blog that impresses your readers, the appearance of your blog also plays an important role. So, make sure that width of your blog is such that entire blog fits in one screen. It is always  a good practice to keep entire blog width around 960 to 980px.


Then adjust left and right sidebars.


Related Topics

How to Customise blog-Background

How to Customise blog-Background

Give a new life to your blog with the colorful background.


Select any color theme from Main color theme to spice up your blog or a nice background image with Background image.


If you did not like any of images, you can upload images of choice also. You can upload a JPG,GIF or PNG fle upto 300k size. For a full background use images of resolution 1800*1600 or greater.


Related Topics

How to Customise blog-Templates


Change your blog look by selecting any template of your choice. The changes can be seen immediately in the lower half of your window.


To apply click Apply to Blog.


Related Topics

How to customise blog


Lot of templates are available to enhance the looks of your blog. You can even further tweak your blog to your choice with Customise option. Lets see how to do it.

Goto to Template.


Click Customise.


You will see following options.


Lets see what each option is for:
Templates
Background
Adjust Widths
Layout
Advanced


Related Topics

How to create a new Post

How to create a new Post


Click on New Post. There are ways how you create a new post. Click on third icon from right as shown in image belo


or click on your blog's name, you will  get a screen as shown below.Select New Post

Enter post title.


Lot of tools are available which you can use to enhance the looks of your content. If you are familiar with text editing tools like Microsoft Word then it won't be so difficult you to understand what each tool is for.
If you are not familiar with html coding, then you use Compose. With HTML you can try different html features on your content.

Ones your done with it, click Preview to check how your content looks in your blog after publish.
When you are satisfied with final look of your post click Publish.

Congrats.. Your first post is online.  Click on View blog on right hand side of your blog name to view your blog online.


Related Topics

Create an account for blog

Create an account for blog

Let us start by connecting to www.blogger.com


If you have a gmail account then you can enter those credentials. But remember that if you are using that gmail account for other purpose, it is always better to create a new account for your blog. If possible try to create an account which will resemble your blog.

After creating an account log into your blogger account.
When you are logged into your account, you will be asked to create either Google+ Profile or Blogger Profile.


After selecting the profile, you have to provide Name to your Blogger's profile which will displayed in your blog.


Ones you are done with all initial set-ups, you will get screen as shown below. Click on New Blog.


Now comes the most important part of your blog-selecting a right name to your blog.
Since you have decided to start a blog, you will be already having in your mind on which topic you want to start blog. It is always better to give a name which is more related to your blog content.
Ones you are decided about what should be your blog's name, just enter those information in the screen as shown below. It is possible that the name what you have decided may not be available means it is already taken by somebody else.Try for different combinations. And always try to keep the name simple and as short as possible. But do not use short abbreviations like MOB for MoreOnBlogs. Users will find it difficult remember those names.


After creating Blog's Title and Address, select a template for your blog. Don't worry you can the change the template later also. Click Create Blog!


If information provided by you is proper, you will get screen as shown below:


Check your blog by clicking on Blog's name.


Related Topics
 
 
Support : Creating Website | Johny Template | Mas Template
Copyright © 2011. BloggerTrails - All Rights Reserved
Template Created by Creating Website
Proudly powered by Blogger